Growing for Beginners
With outdoor growing season fast approaching, people are starting to ask me about seeds and how they can get their own garden started. I’m not a pro grower, nor am I going to pretend to be, but I do know the bare basics.
When I first started growing at home, the only advice I could find online was from people who had been growing for years. That sounds like it would be great but those “experts” tend to take for granted the fact that most people looking for advice on the internet are going to be beginners and we aren’t looking to invest in hundreds of dollars in equipment, nor do we want to be talked down to; we just want to test the waters to see if we can even stay afloat.
Growing doesn’t have to be complicated. Talk to a veteran grower though and they will try to school you on what the best soil is, what the best nutrients are, best lightning, etc. Advice is great, we all need it, but when you’re getting 100 different answers from 100 different growers, you start to take a step back and realize that something isn’t adding up here; how can 100 different soil and nutrient combinations all be “THE BEST!!!”? They can’t …yet every grower will still tell you that their way is the best way and there is no other way. They are set in their ways and that’s fine; to each their own.
I hate using cliché sayings but, in this case, it really is better to just keep it simple. Once you’ve mastered a few grows doing it “your way”, then you can start looking at fancy soils, nutrients and other upgrades. Like anything in life though, you should master the basics first, before moving on to anything else. …nobody starts out life running. Baby steps.
The Process:
So, what are the basics? You’re going to need a feminized cannabis seed, some soil (herb or tomato soil is fine for starters), a small planter pot (a red solo cup works great too; just be sure so carve a small drainage hole in the bottom, before filling it with soil), fresh water and lots of light.
To start, I drop my seed into a mug filled with water. This is to help with germination. I use a mug because they aren’t clear, keeping the seed dark, and their sizes are pretty consistent, giving me the same amount of water each time. After I drop my seed (or seeds) into the mug of water, I place a lid on top and put the mug in the cupboard for about 15 hours. I usually check on the seeds at the halfway point. It they are still floating, I gently poke them with my finger, just to sink them to the bottom. The seeds may not sink though, they may just stay afloat, but don’t worry, it’s a not a huge deal.
After about 15 hours, take the mug out of the cupboard and grab 4 sheets of paper towel. Not toilet paper, not a rag, actually paper towel from a roll. Fold the paper towel in half, and then in half again and set it on a dinner plate. Carefully pour the contents from the mug onto the paper towels that you just set on top of that dinner plate. I say carefully because you don’t want to lose your seed from inside the mug.
Carefully move the seed to the center of the paper towel, by gently rolling it there with your clean finger. If you have multiple seeds, spread them out evenly on the paper towel, leaving at least an inch in between each one. From there, fold the wet paper towel in half once more and then, with your hand holding the paper towels in place, pour off the excess water from the plate and then place the plate in a cool, dark cupboard, checking on it daily to ensure the paper towel stays damp. If you feel it starting to dry at all, spray it down with some water (if you don’t have a spray bottle, turn your faucet on ever so slightly and allow a few droplets to moisten it up. If the paper towel dries out it mean your seed has dried up and that means it will no longer germinate or sprout a seedling.
Check your seed daily, not only for moisture content on the paper towels but also to see if your seed has grown a little white tail. Seeing this is a great sign as it means your seed has cracked open and is starting the germination process. Once you’ve notice that the tail is about an inch long, it’s time for planting. Note that it can take the tail 2-7 days to pop through; if you still don’t see anything after 7 days, you can wait longer but chances are your seed is a dud. Don’t be discouraged though, although rare, it does happen from time to time.
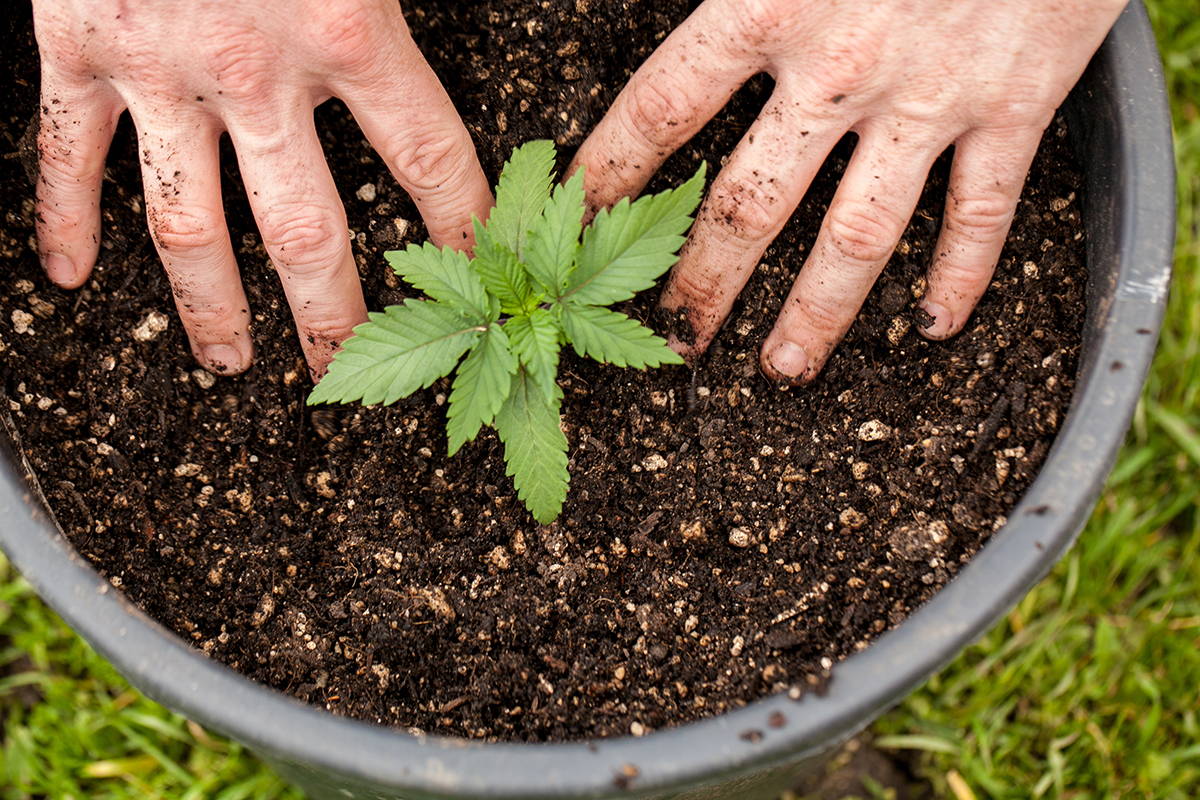
To plant, you’re going to need your herb soil and your smaller planter or solo cup (just make sure whatever you’re using has a drainage hole). Once you’ve got your soil in your planter/cup, create a 1.5-inch hole in the center of the soil, by poking it down with your finger. Very carefully, grab the seedling and place it tail down in that hole you just made (some people use tweezers to transfer to seed but I’m more comfortable using my finger and thumb for that).
Ok, so your germinated seed is now in the soil. Gently cover it will light dirt, just enough to keep it dark, and then lightly spray the surface with some water. I use a dollar store spray bottle and I highly recommend you do the same. This allows you to water the fragile seed without disrupting it, or it’s positioning in the soil, with the water pressure from a watering can or bottle. Once the top layer of dirt appears damp, spray a piece of plastic wrap with water and cover the planter/cup with it. Don’t cover it tightly with an elastic or anything, just put it on top like a lid, ensuring little to no air can get in. This will create a humidity dome which will help with the process.
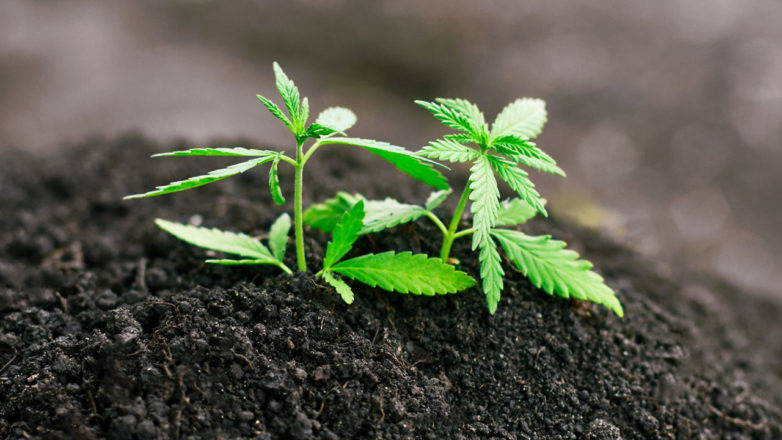
As with the paper towels, you don’t want the soil to dry out during this stage. You don’t want it too wet either though or else your seed will drown. The plastic wrap will help with the moisture but if you notice the surface of the soil starting to dry at all, get your spray bottle out and dampen it up. Aways respray your plastic wrap before covering it back up as it will create some nice humidity which helps with this stage of the growth. Keep it in a window sill that gets the most sun and after few days you should see a nice green seedling poking out from the soil. Keep the soil damp and keep the plastic wrap on until the seedling is reaching high enough to where it starts to poke at the plastic.
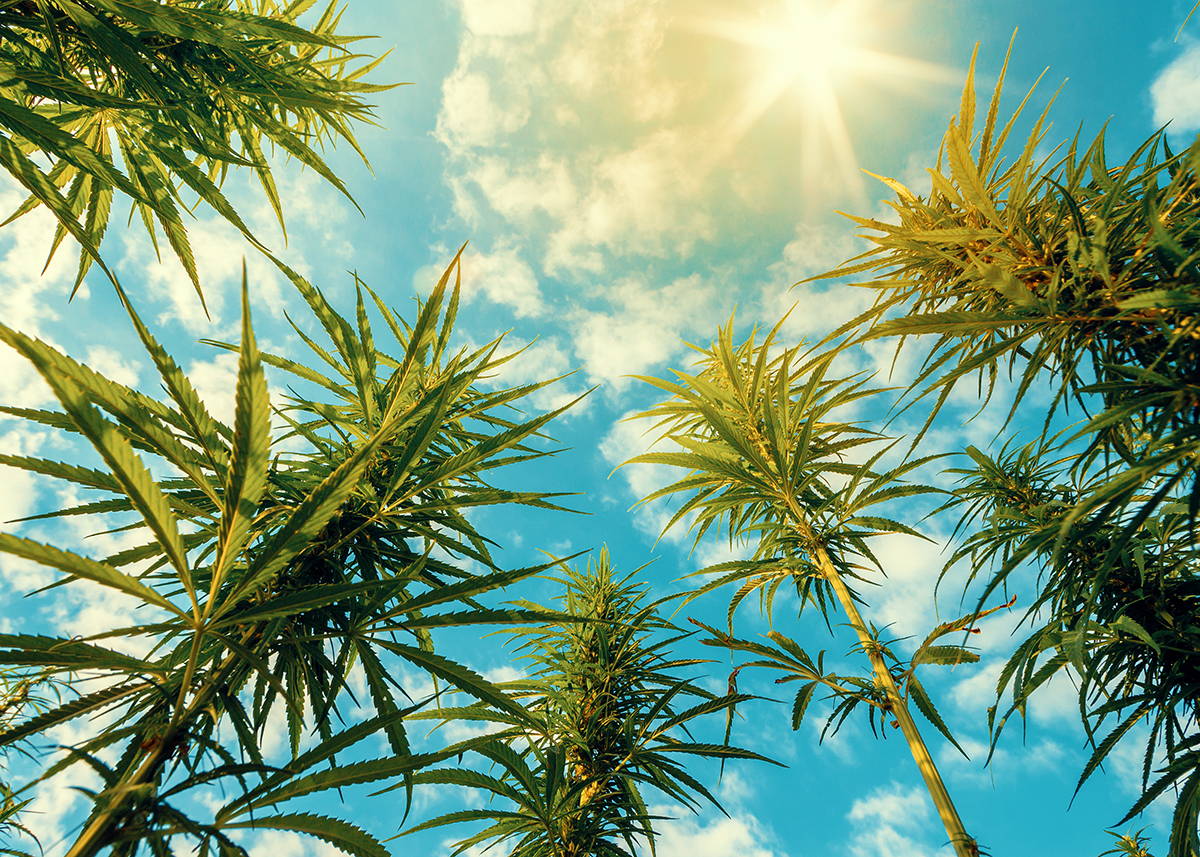
Once the seedling is touching the plastic, you can remove the wrap completely. Over the next 2-3 weeks you need to keep an eye on the soil. Don’t soak it but always ensure that the soil stays damp and never dries out, giving it good feedings of water 2-3 times a week. After a few weeks, you want to transfer your plant from the smaller planter or cup and into a 3–5-gallon pot, again, ensure that it has drainage holes. Once the weather is nice enough (most people plant on or shortly after the May long weekend), you can then plant your cannabis plant directly into the ground. Just make sure you pick a spot that gets more than 12 hours or sunlight each day, ideally 15 hours.
Even if rains, try to give your plant a good watering every two days or so. Rain seems like it would do the trick, especially those torrential downpours, but it doesn’t penetrate the ground to where the bulk of the roots are growing so you still need to give it that manual feeding. Water on its own is fine but if you want to add some homemade nutrients, coffee grounds and banana peels pack a nice punch and are a good treat for the plants. I like to let the peel and coffee grounds soak in my watering can overnight before giving my plants a good feeding the next morning.
As fall approaches and the days get shorter, the plant will naturally start getting less and less light. This will signal to your plant that it is time to start flowering and that’s when you’ll start seeing some changes in your plant. Some say this is when the fun begins! You may notice some white hairs popping through and some crystals starting to form on the little leaves near the bud sites; these are all good signs that your plant is progressing on schedule.
7-12 weeks after seeing that first hair or bud site, your plant will be ready for harvest. How do you know? Once you get into growing a bit more there are microscopes and jewelers loops you can buy but, in the meantime, just go by the orange hairs. Those white hairs that started sticking out will eventually start turning orange which means you are getting closer to harvest. If you want more of an energetic sativa effect, chop your plant down when 40-60% of the hairs have turned orange. If you want a more sedative indica high, harvest when more than 80% of the hairs have turned orange.
Once you decided that you’re ready to harvest (chop your plant down), you’ll need to find a cool, dark, area for where you can hang your cannabis to dry. Keep in mind that it is going to be stinky so you might want to avoid inside your house if you can help it. If you have a basement that nobody uses, that could work, but somewhere like a dark garage or shed is usually ideal.
Before you hang it to dry though, you need to clean it up a bit. You’re going to want to remove all the fan leaves first, while leaving the little sugar leaves around the buds. The fan leaves are the big leaves, just growing on their own, and the sugar leaves are the little ones growing right around the buds, usually covered in crystals (hence the name sugar leaves). The easiest method is to cut off an entire branch and trim the leaves off of one branch at a time.
Once you have the leaves trimmed, you’ll need to hang all of the branches upside down. Some people will run a string across their ceiling, hanging the branches from there, but I usually just hang them from the ceiling using clothes hangers and some cloth pins, clipping the branches to the hangers with the pins. Leave them to dry for about 5-10 days; they should feel a tad dry and little crisp on the outside, but with some moisture still locked inside the buds. A good rule of thumb is that if you bend one of the small stems and it snaps clean, it’s ready. If you bend one of the small stems and it just bends, without breaking or snapping, you need to keep drying it. Again, it will feel a little dry to touch but moisture will come out of the buds during the curing process so don’t worry about that.
Once it snaps though, you are ready to cure; this can be the toughest step for beginners. Your buds look ready to smoke and you’ve been waiting months for them; it’s so hard not to start enjoying them now. Trust me though, you want to wait for the cure to complete as it will make your cannabis more potent and better tasting.
To cure, you need to clip all the buds off your branches. Some people use a bucking method, popping off all the buds as they run their hand tightly up the branches, hoping to take off every bud along the way, but I don’t like that method. It’s super quick but it makes the buds less pretty in my opinion and also break up some of your bigger buds if you’re not careful. I like to take my time when I clip the buds off; I invested 3+ months in this grow, and I want ensure that my buds are big and that they have that “bag appeal”, even if it is just for personal use. It’s just a pride thing I guess.
Once you have your buds off the branches, it’s time to jar them up for curing. I like to use 1 liter mason jars for this step but any glass jar with a tight snapping lid will do the trick. Drop all your buds in the jar, filling it about 75% full. Screw the lid on tight and then put the jar in a cool, dark, place …I usually use the same cupboard I used for germination.
For the next two weeks, you’re going to want to open your jar (or jars) at least once a day, just for a couple minutes each time. This process is called burping. It lets the fresh in and takes some old air out, while also allowing you to smell and inspect your buds. I usually shake the jar around gently as well, ensuring that all of the buds still have room to breath and none are sticking together.
After two weeks of doing this, your buds are ready for a sample. They’ll likely look ready before that but don’t be tempted; wait at least two weeks. For a better cure, a full month or longer in the mason jars is ideal, but if you can’t wait any longer, just go for it …but again, just make sure you cure it for at least two weeks. The cannabis will be so much better then!
And that’s it; those are the bare basics on growing cannabis for beginners; hopefully that helps you along in your first grow. With that all being said though, my best piece of advice for beginners is to master the basics and go from there. You have to learn to crawl before you can walk. As you get more comfortable and confident as a grower, then you can look at expensive nutrients and fancier growing methods, but, until then, just keep it simple and have some fun with it! …and save some of your buds for Big Larry to sample 😊


